Powder coating aah yes the final solution to the age old problem of how to paint small or not so small parts and make them last! I initially planned on sending out all of the powder coating until I started getting prices and realized it would cost big bucks to get it all done. So as usual I got on the net learned a bit on how to do powder coating at home and here is what I came up with. Building the oven station took about 10 hours of work not including all the time spent rounding up an old oven.
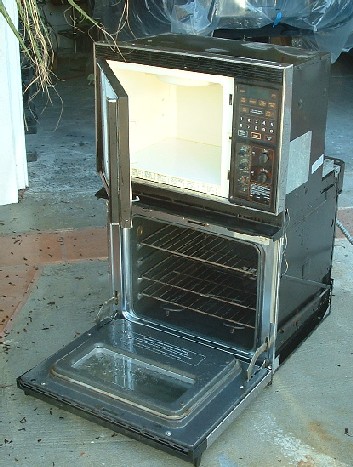
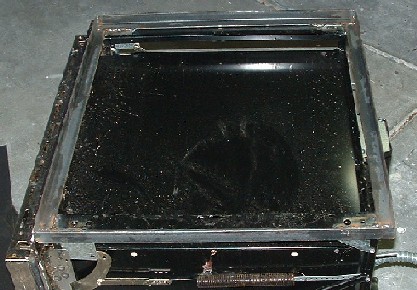
First, score an old electric oven! Depending on where you live and how much construction or remodeling is going on, this can be easy or hard. For me it was fairly easy to find an oven as we had some work going on at the house and several contractors involved who had other jobs where ovens were coming out. This baby was free and worked perfectly, All it needed was a new heating element and a good cleaning.
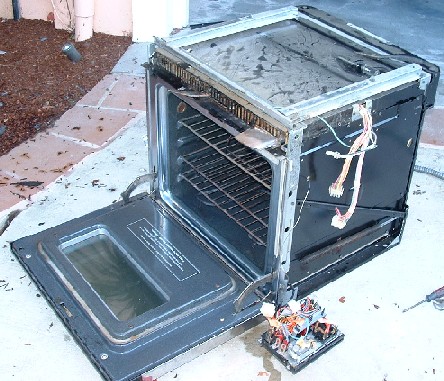
This unit was a dual oven microwave model from GE circa 1986. I didn't really need the microwave taking up space so I removed it. Fortunately GE didn't integrate the microwave and oven electronics extensively. It was just a matter of unplugging the microwave bits and removing the screws that attached it. I had to cut a couple wires but no serious electronics hacking was needed. The strip down took about an hour, and I saved all the hardware and sheet metal to use building the station.
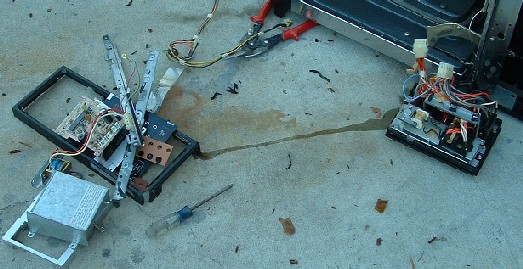
Here is the electronics mess, on the left are all the parts of the microwave heading for the trash, on the right is the oven unit. I have to say GE was making pretty high quality stuff in this era! All the modules were made for easy replacement and lots of hand labor was needed to assemble the oven/microwave. It was pretty well engineered for its time.

All cleaned up and ready to get busy! I used the MIG welder to build the station, Once you get into welding, its hard to go back to wood or screws. It is so quick and easy to frame up something in steel once all the parts are cut.
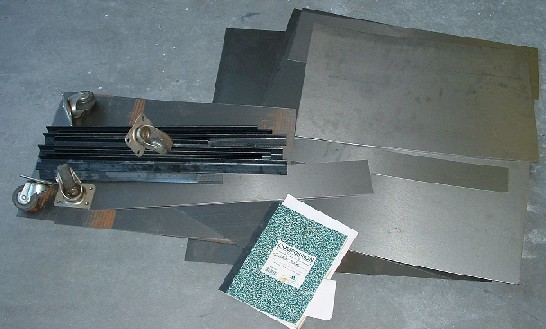
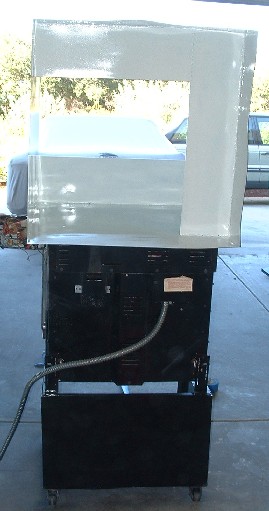
I took measurements of the oven box, got out a tape measure and a straight edge and figured out what I wanted to build. I am going to put a small rolling stand on the bottom to get the oven up to a reasonable working level, and build a powder coating booth on top. After deciding on the dimensions I made a parts list and went to my local steel yard. The yard did all the cuts for me so all I had to do was finial fitting and welding. The materials about $180 including wheels and spray paint, not bad but steel is much more expensive than a few years ago, probably about 2 times the cost per pound as when I built the rotisserie.
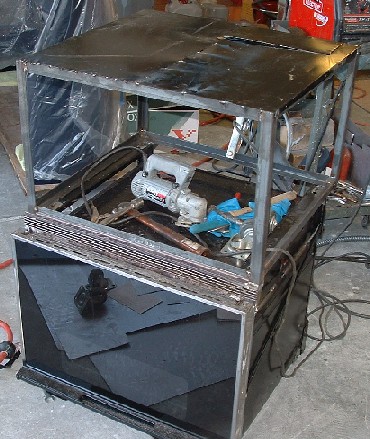
Next I framed up the stand and used some of the old sheet metal left over's from the microwave to make a bottom, not pretty, but who is going to see it!
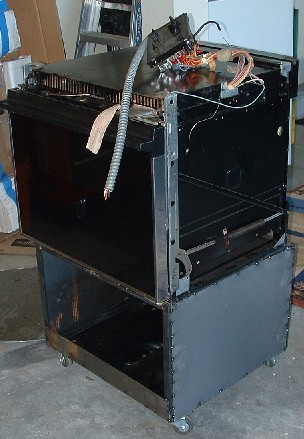

The booth is all framed up now, I left a 20" opening in the back for a box fan, this proved to be a bad design. The powder is so light and fine that even on low speed the fan sucks the powder out of the cab. I even had a paint filter on the fan but it didn't even slow down the powder. Lesson learned, no fan for a powder coating booth.
I primed and painted the sheet metal with rattle cans and added mounts for the electrics. Almost ready to go now!
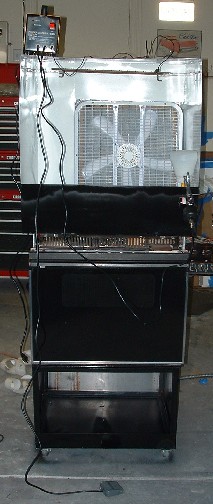
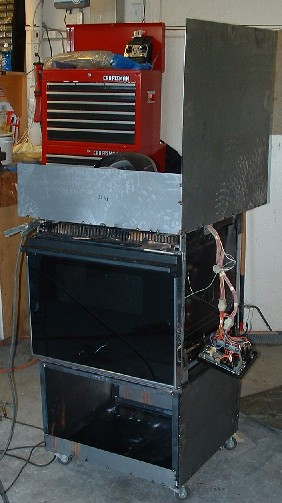
All ready to go. The fan was a mistake but I'll remove it and put some cardboard over the opening eventually. I had to add a 220 volt outlet into the garage to run the oven. Typically these run on a 20 Amp, but I tied it into an existing 50 Amp circuit. not to code but it works. A 20 foot extension and the plug and outlet was about $60. The powder coating gun was $75, I spent about $130 on powder coat and supplies so Total investment is about $450. About the cost of one good batch of powder coating done professionally.

Ready to rock and roll, I'll discuss the process for powder coating on the next page! Powder coating is similar to plating in that it is a serial task with a bottle neck at the oven, Each batch of parts takes about 25-30 minutes to cure. I plan on inter-leaving this work with the plating which also takes 25-30 minutes per batch. Typical batches in the oven are 2-5 parts. Typical batches in the plating tank are about the same, should go like clock work (so to speak).
If this kind of thing really gets you going, checkout the raw pics on my gallery,