Rebuilding sub systems is a long process, I started this with powder coating around Aug. 2004, and I'm a bit over half way done at present. (Nov 2004). I have at least 300 hours in this so far. There are just to many parts I've rebuilt to document clearly on the web. I'll just give an overview of the process and point out a few tips here.
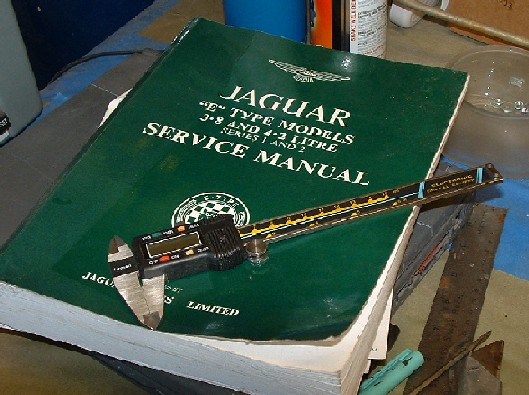
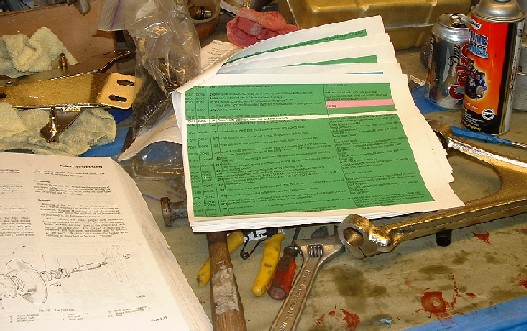
Here are two of your best friends when rebuilding things A good caliper and the shop manual. I typically start by reading as much as I can in the shop manual, identify parts that are to be replaced, verses reused, and shop around the "usual" suppliers before ordering. I tend to use Terry's Jaguar parts and XK's Unlimited for most things however I also like Classic Jaguar. Ebay is also a great source for parts if you know exactly what you are looking for, and don't mind battling it out in an auction.
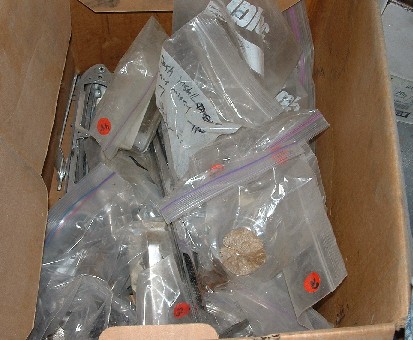
I used a numbered bag system of tracking parts, about 400 total bags of parts, At the point I started rebuilding things I separated parts into areas, Brakes, Engine, Front suspension, Rear suspension, Interior, Chrome etc. I then further grouped the bags into projects and made sure all the parts were accounted for before starting. I tended to order parts in batches which aligned roughly with 2-3 projects. Heater parts and Front suspension for example.
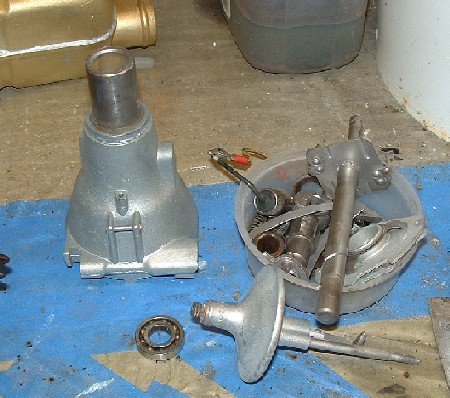
Here is a good example of a typical rebuild project. All parts in this case were bead blasted with exception of the bearings! I use worn out glass bead in my cab at about 80 PSI to avoid damage or excess wear to the parts. I tested parts like the vacuum advance to insure that it was reliable. After blasting I wire wheel the parts to get them back to a factory appearance. The basic clean and update part of Distributor rebuild is fairly simple however setting up and testing after the unit is complete is beyond a normal shop. Fortunately for me I had a great resource just a few miles away.
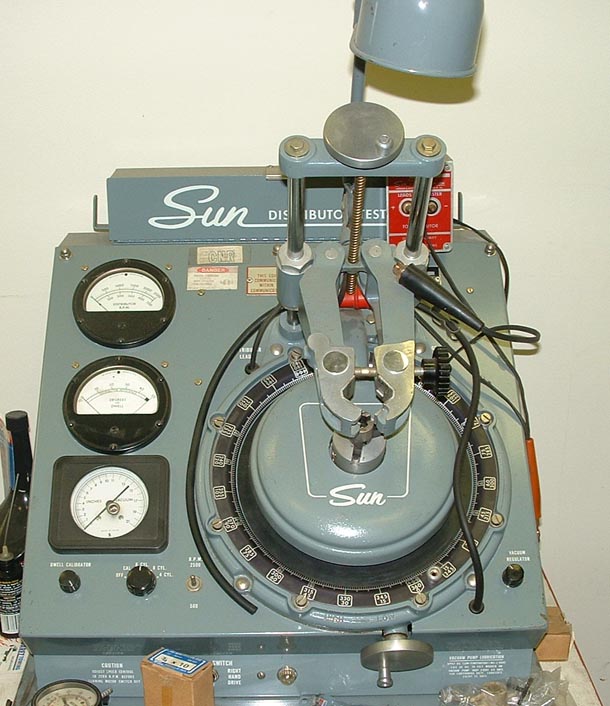
Dick Vandermeyden of San Carlos CA has a period Sun distributor machine and years of experience working on Jaguar distributor. With this machine you can check the dwell and spark advance, both mechanical and vacuum at any RPM from 100-10K. Dick is one of the rare few who not only has the knowledge but also loves to pass it on and has seen just about everything once. When we checked out the unit above we found that the top half of the breaker plate was rocking like crazy on the lower half when the distributor was turning. You'd never see this if you didn't run the unit with the cap off but this caused the dwell to change as much as 5 degrees on every revolution. What we found upon investigation, is that there are three little plastic buttons on the bottom of the top half of the breaker plate which keep the unit riding correctly. Two of the three parts were worn out so Dick custom machined perfect copies of the remaining button. Once installed the distributor was nearly perfect, both on Spring and vacuum advance. I of course would never had been able to do this on my own. You need quite a bit of experience and specialized tools or you'll spend allot of money and time and still have problems.
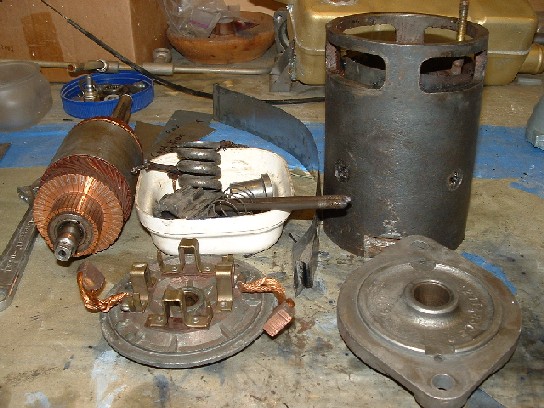
Each new project has its own challenges, in the case of the starter, it was working when the car was torn down, but, I wanted to clean up everything and make sure it was in top shape. Before reinstalling. Its nearly impossible to get a starter out of a 3.8 Liter E-type without pulling the engine so its important to spend the extra time up front. On close inspection I found that this starter was actually a later lucas starter from 67 which is physically the same but has different number, so I will troll ebay to find a correct starter and rebuild this unit as a backup. I was able to find an original Lucas rebuild kit for the starter NOS, and will use the kit to rebuild a correct 1963 core. I replaced the brushes in the original and repainted it. Otherwise it was all fine.
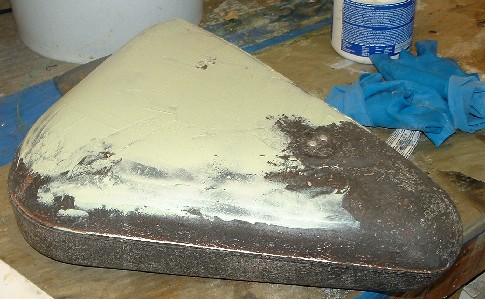
The Air cleaner plenum was just dirty and had been repainted several times. I stripped bead blasted it back to the base fiberglass and glazed it with polyester body putty, Sanded it down and shot it with the correct silver hammer tone paint. Eastwood sells a pretty good match for the original silver paint that came on most of the under hood parts on this period XKE.
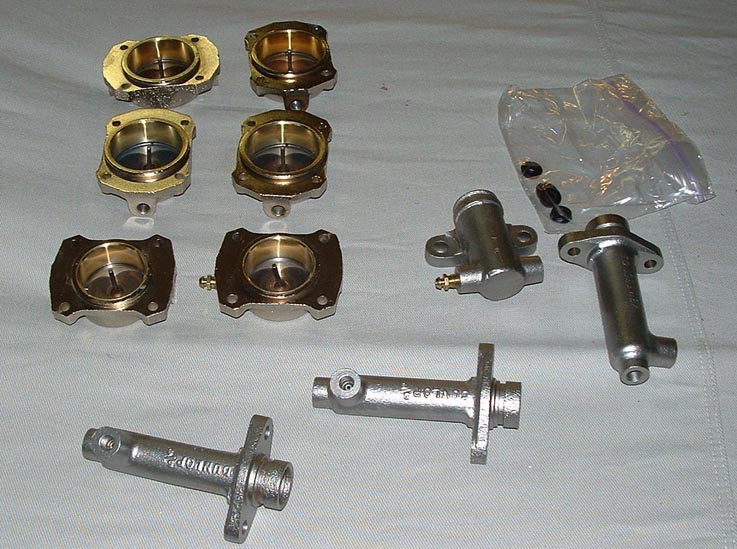
Some parts like the brake calipers and masters were beyond the ability of my shop. stripped and bead blasted them then sent them out to a professional for re-sleeve. I used Sierra Specialties in Southern CA. Before having the sleeving done I had the calipers nickel plated, by Van Nuys plating. They came back looking better than new. The Masters were powder coated in a steel poly powder from Eastwood. Sierra Specialties includes their own sealing rings for the master cylinder pistons which are closer to the original Girling parts than what comes in the modern kits. From what I understand the modern repro kits have a harder rubber in the oil seal which has a tendency to wear out quicker and leak.
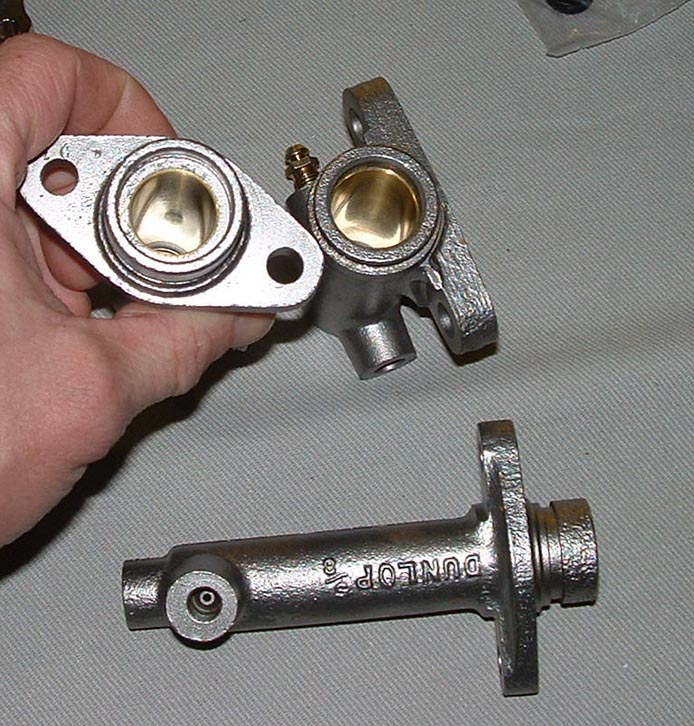
The master and caliper bores came back looking like gold. They should be good to go for many years Just need to install the kits now!
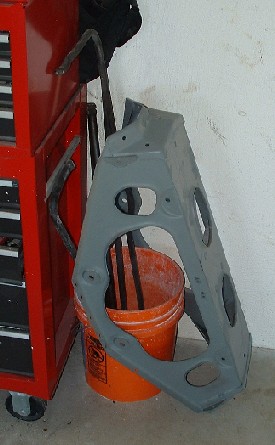
Some of the large parts were to big for my powder coating oven, namely the IRS cage and the front sway bar. I sent these out for gloss black powder. Both parts ran about $50 to get prepped and coated.
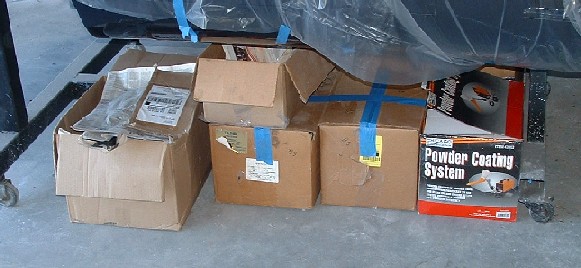
Parts storage is an issue for me, I have very limited space in the garage so I have to use every inch, and plan stages of the restoration around the space limitations. My plan is to do all the powder coating and small part rebuilds before I start putting the car back together. This is important for 3 reasons. First, powder coating, bead blasting and painting are messy and would surely lead to dirt and shop rash on the body of the car if it were uncovered. Second, with the powder coating cab out in the garage there is no room to put on the sub frame. Third, when I remove the trolley from the body of the car to install the sub frame, I'll also need to find a home for all the boxes of parts. I won't even start to put the car back together until the IRS is fully rebuilt, all the front suspension and brake parts are ready to go on and all the other sub units are ready to bolt up. This will limit shop rash, I'll also get the Engine torn down before hand and send it out for rebuild while I'm putting the car back together, when the engine comes back I hope to be ready to drop in the car. Project management is key in some phases of car restoration, during other phases its not as important but for sure paint and final assembly are dangerous periods where the shop needs to be very controlled and clean.
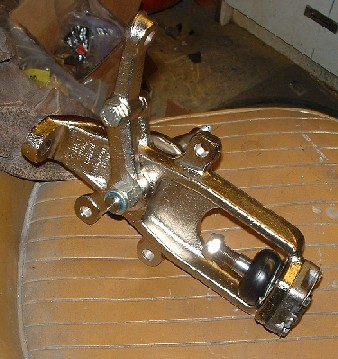
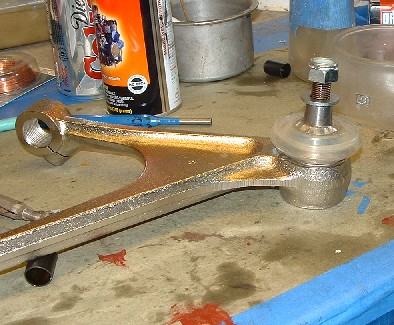
Getting all of the smaller parts of the suspension rebuilt and ready to bolt was several months of work. Here is a front hub assembly ready to go on the car. I installed new ball joints and spindles on the carriers which were nickel plated! I saved most of the original hardware and nickel plated this myself. Setting the right play in the ball joints took some trial and error but the shop manual is very good in describing how the parts should be set up.
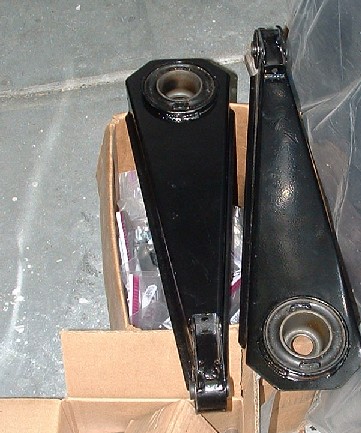
The upper A-arms ball joint kits went in very nicely no problem getting these installed in an evening.
The spreadsheet I made up originally to track bags of parts has evolved and now has sections to filter parts by group, brakes, Engine, Body, Interior etc. I added comments along the way to the sheet and it is coming in very handy now when putting things back together. Next time I do this I'll make sure I put more of the similar parts in single bags, so instead of having Left side part blah and right side part blah they are all in one bag with comments to indicate anything unusual. Live and learn. Still I don't know how people used to restore cars before having Laptops and digital cameras!