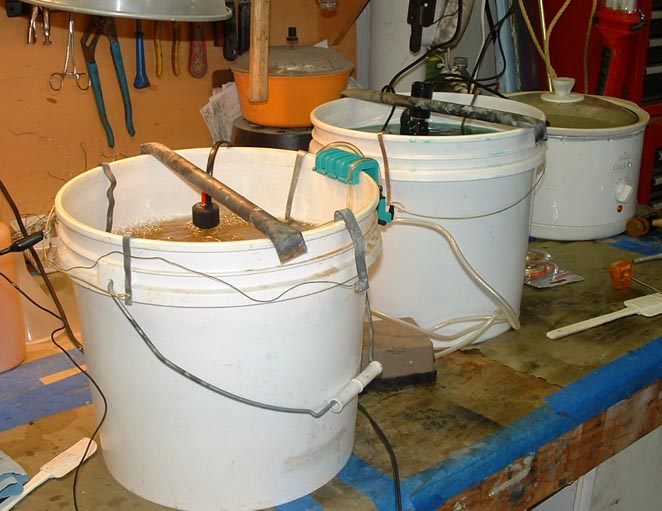
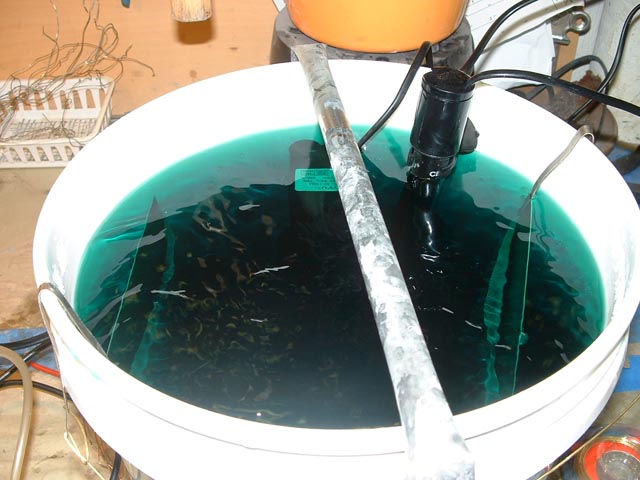
After using the Caswell copy cad zinc kit a few months, I ordered a similar size nickel kit. As I became more experienced with plating with Zinc and Nickel my process evolved into a small plating production line. I have both the Nickel and Zinc tanks set up in this shot with the crock pot on the end heating SP de greaser. The de greaser is a mix of soap and some mild ammonia which is used to naturalize acids and plating solutions left on parts after they come out of the various tanks. Lets go through the process.
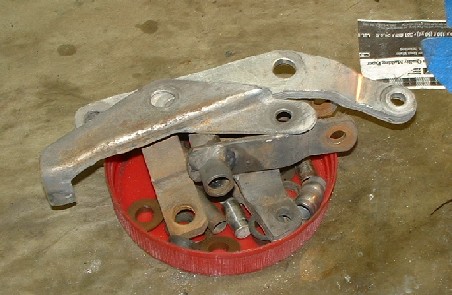
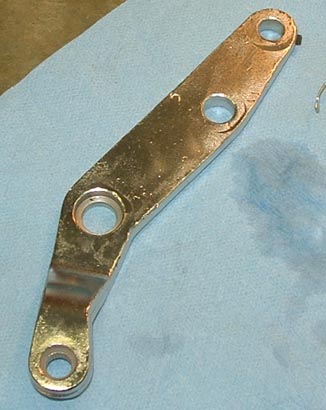
The subject, a brake servo linkage. Some parts are black oxide, others were silver cad. I start by bead blasting everything and then buff out the parts which will be silver with a wire wheel. Parts which are to be black oxide are zinc plated, parts which were originally cadmium will be Nickel. Yellow cadmium parts are also zinc plated.

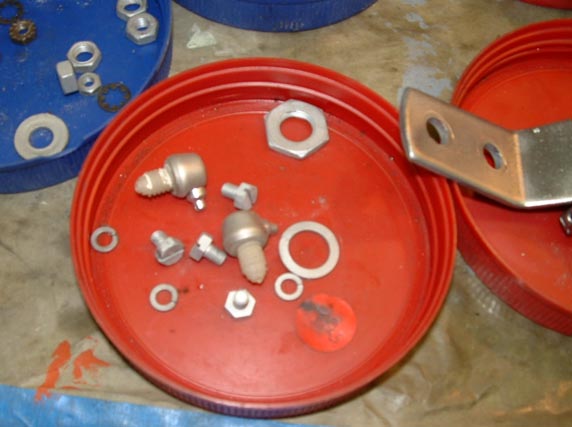
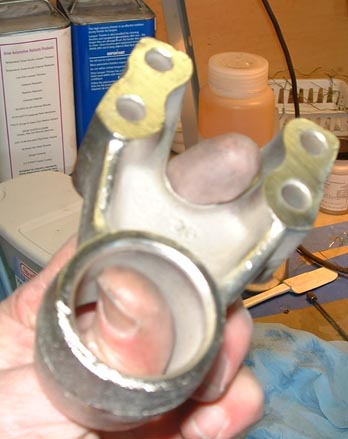
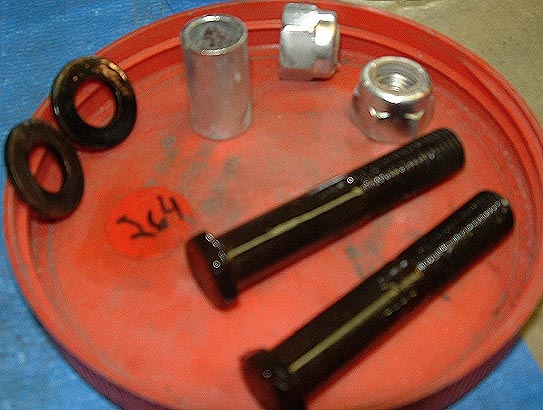
After the parts are bead blasted clean of any old plate or rust etc. I inspect and look for damage and make the call on what to replace. In this picture for example I'll scrap the wiper fluid nozzles as they were chrome plated aluminum and will be difficult to re plate. The screws and nuts will be re plated in Nickel, and the lock washers will be replaced. I tend to trash all lock washers as they are still available. I update the spreadsheet to say what is to be replaced.
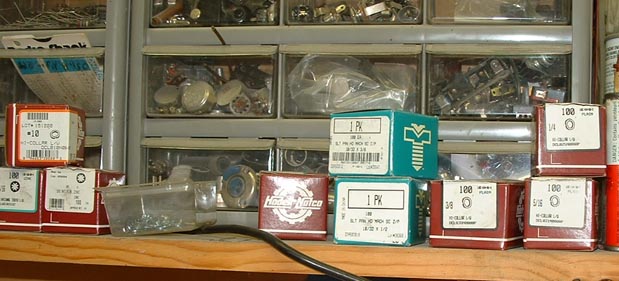
Here are some
of the common sizes of washers. I have found that
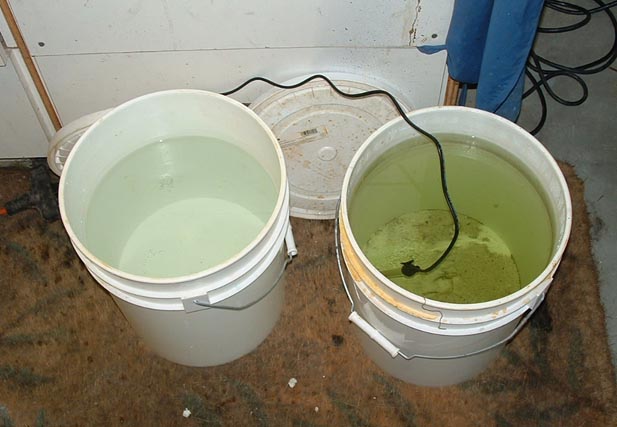
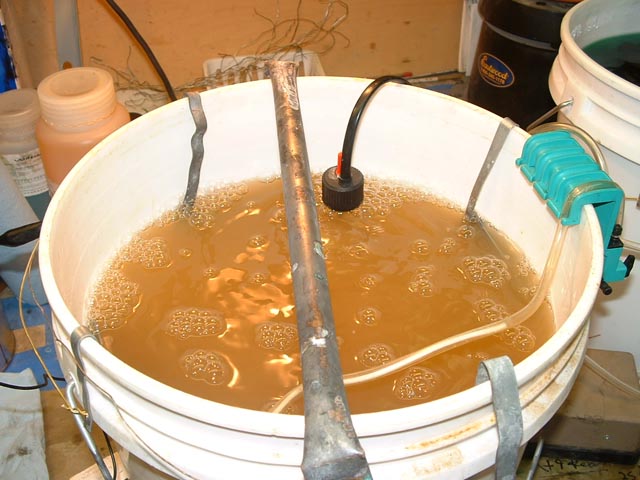
After the parts are bead blasted and buffed as needed, they are wired with copper and hung in the acid pickle for 10-15 minutes. This is the tank on the right of this picture. The Caswell Nickel. kit came with this neat heater which I use to warm the acid pickle up to around 180 degrees. After pickling the parts they go for a short dip in the SP de greaser to kill the acid, and then into a bucket of clean water until they are plated. The water bath is mainly to slow down flash rust while parts are waiting to go into the plating tanks.
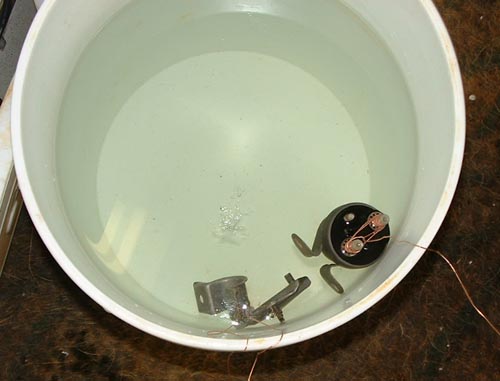
Parts wait for plating here for up to an hour, I find if the parts stay in the water tank more than about an hour they need to go back into the acid to kill flash rust. Flash rust on parts contributes to brownish finish on zinc parts, and poor plating adhesion on nickel parts.
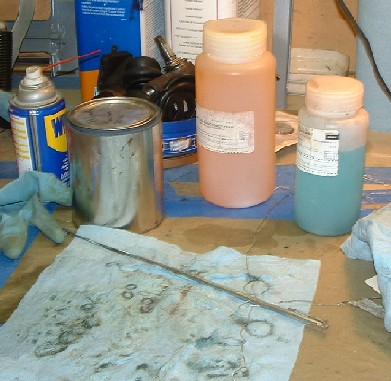
After Zinc plating parts there are several chromate's which can be used to tint the surface. The blue bottle is a black chromate concentrate, just dip the part in the concentrate for about 30 seconds and allow to dry, or make a solution with water for longer soaking. The chrome stick is a magnet which I use to lift parts in and out of the solutions. For larger parts, you can swab on the blackener with a napkin or make up a solution in a bigger tank with water. The gold solution is a mix of a yellow chromate concentrate and water, used to create a simulated yellow or golden cadmium finish. Dip the parts directly into the bottle on the plating wire just after being removed from the plating tank, allow the part to soak from 30 seconds to 2 minutes depending on desired darkness of yellow. Before dipping into the solution in should be heated to about 90 degrees. Both the black and the yellow chromate harden the zinc improve the durability of the finish. After parts are dipped. and left to dry, I dip the parts into a polyurethane sealer (silver can) and allow to dry. For the black oxide I skip the sealer and shoot them with WD40. without oil or sealer the black parts can form a white oxide. Black oxide parts typically have a thin film of oil on them at all times.
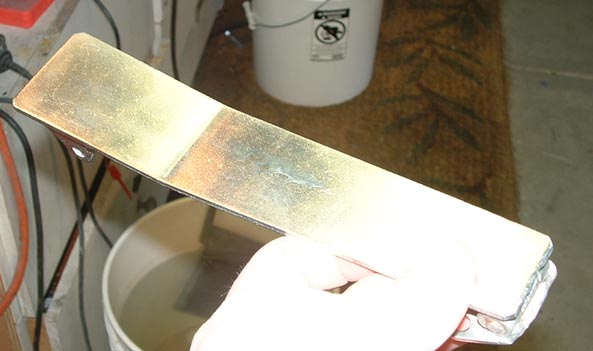
Here is an example of a medium sized part plated in Nickel I didn't spend allot of time buffing the part and the finish looks very similar to silver cad or zinc, but is harder and won't corrode.

This is a Zinc part which came out pretty well, but shows a slight yellow or brown tint.
Not the best picture I ever took, but it shows black oxidized zinc bolts with clear coat and silver zinc nuts and spacer ready to go back on the car.
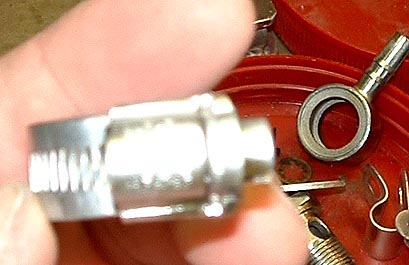
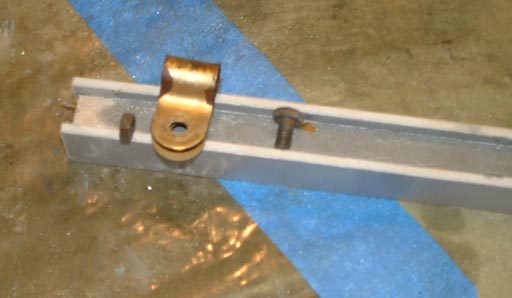
Another blurry close up but that is a Cheney Hose clamp after plating with zinc and looking pretty good!.