The last step before shooting color, This process took about 20 hours of work, and 2 weeks of waiting for custom chrome.
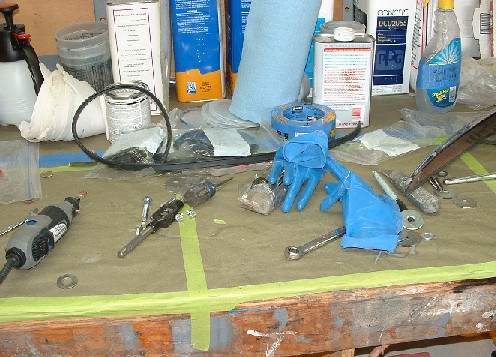
A few of the tools of the trade, in addition to having the rubber gaskets for all chrome and a good selection of washers and correct bolts, I used a 4 inch angle grinder and a ninety degree die grinder to shape the edges of each part. Small work was done with a dremel tool.
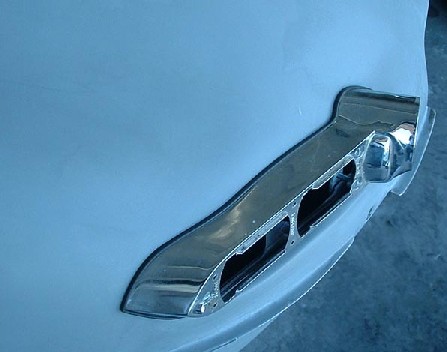
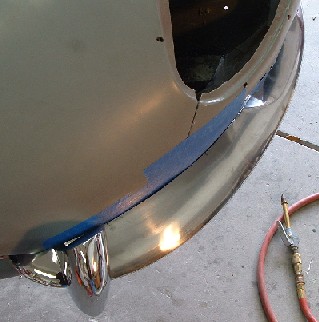
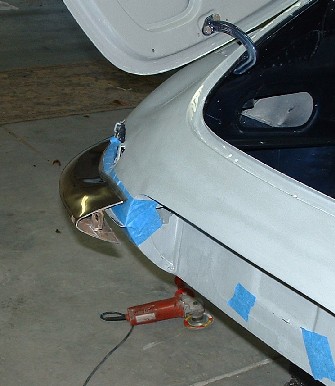
The rear tail lights were fairly close to the right body shape as I had fitted them previously when I leaded in the back of the car. I did find that one of the mounting brackets had to be cut off and re welded in about an eighth of an inch further over. This happened because I didn't use the correct #10 32 tpi screws when test fitting. Another lesson learned, don't cut corners on hardware when test mounting chrome.
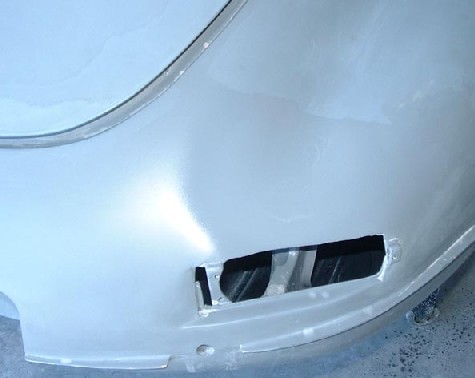
This is what the area looked like before moving the bracket. I taped up the entire area with two layers of masking tape before fitting any chrome. Don't cut corners on masking areas while fitting parts. The tape saved me dozens of scratches. Especially when cutting the bracket off and re welding it in place. One slipped screw driver or a bit of weld spray means a re shoot of primer and tons of sanding.
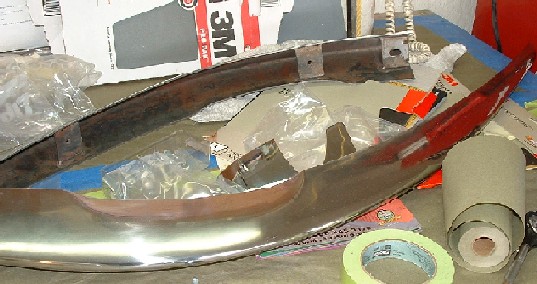

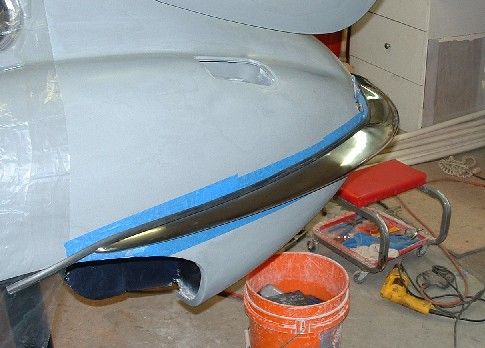
After getting the bumpers from Jeorge, I masked off the rear of the car and started fitting, Even with custom parts the rear bumpers required a good bit of fine tuning, I had to relocate the mounting plates which were only tack welded in, and cut down the inside edge to get a correct fit. On one side I had to bend the bumper slightly to get dead on.
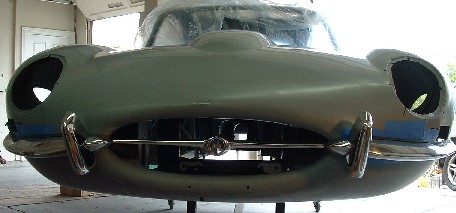
The front bumpers went on pretty smoothly, In this picture the Left hand bumper is getting close. A small amount of space is acceptable since the rubber body gasket will take up the space. I found that about one eighth of an inch was about all you could expect to fill with the rubber without having a noticeable dimple or gap.
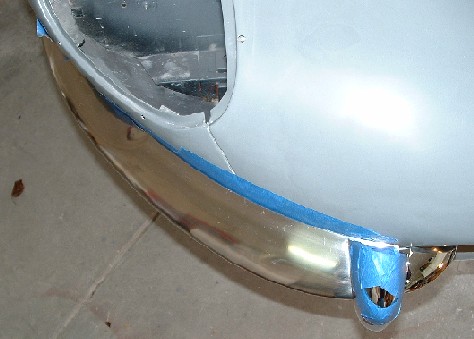
The left side bumper is dialed in nicely now. I find that when mounting the bumpers with the rubber trim, masking tape is the best thing to hold the rubber in place while fitting. Just tape the rubber to the bumper and fit away. Once all the bolts are snugged down strip off the masking take and your done.
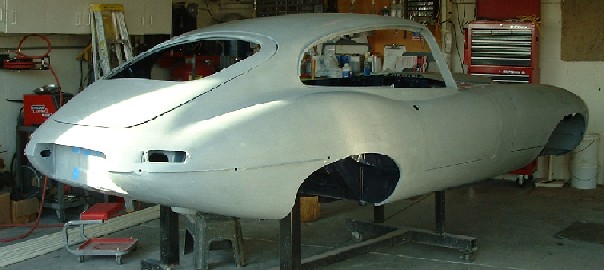
Ok that's it for fitting chrome, the other parts went on fairly smoothly. I fitted the window frames on the doors, and installed the weather stripping channel before painting. Now that the chrome is complete I'll tear the car down and give it a good bath with soap and water. Grinding and welding near the car had covered everything in a thin film of dirt and oil. Next I'll build a paint booth and finial prep the car for painting. Won't be long now until the color and clear are on for good!