Sanding out the body two times down to 4000 grit and fixing paint problems took a good 100 hours in May and June 2004
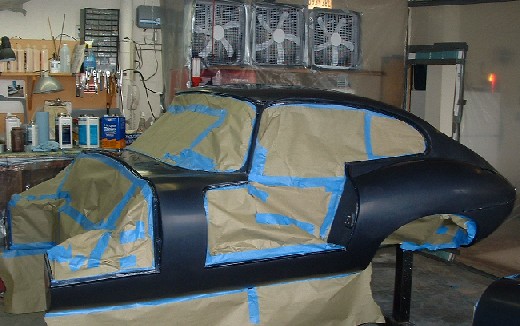
After the first 3 coats of clear were good and dry, I sanded down the car with 800 grit wet sanding, and repaired any runs or sags. I used a Hutches finishing dual action sander for the large panels and a six inch hard foam sanding block for the tight spots. The DA sander makes quick work of the orange peel, but if you've missed any high spots during the block sanding, the DA will find them and will burn through in no time flat. I found about 10 spots which had to be repaired after using the DA sander. One lesson learned is, don't get any where near the edges with 800 grit on a DA! This picture shows the car after all the sanding was done and I had masked up to do the touch up work and shoot 3 more coats of clear.

This is a typical example of burn through from the DA because there was a high spot below in the primer. This case shows why it is so important to block the car down several times with a good guide coat and to inspect it inch by inch before shooting color. Its just plain old poor prep work, my long boards missed these high spots. Its easy to do regardless of how many primer coats are shot.
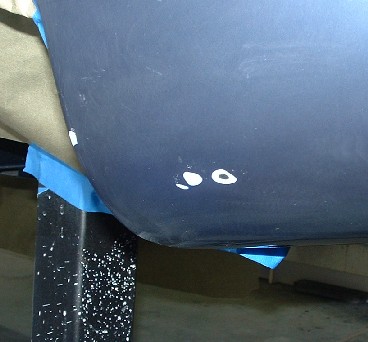
This was the worst of the burn throughs, right down to bare metal. I probably dropped a tool or here and made some dings. The solution to these problems was an air brush to blend in fresh base and clear. First I used a small amount of Evercoat finishing glaze to cover the bare steel producing a reliable bonding surface, Then I used an airbrush to shoot two coats of color, expanding and feathering the edges on the second coat. I found that the air brush was the cleanest way to make these small repairs because the paint is very finely atomized and blends at the edge with a fine mist. I slightly over reduce the base or clear when using the air brush because the tip is very fine.
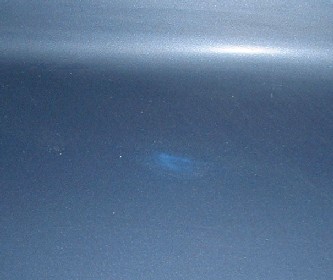
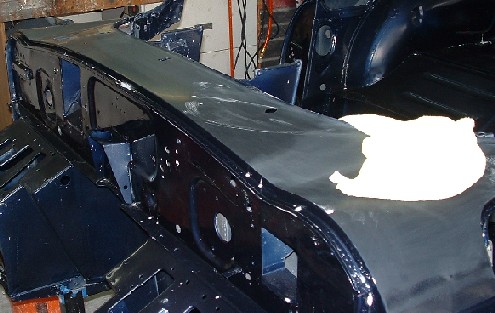
This shot is of the nasty bare metal burn through from above after blowing in base with an air brush and four coats of clear. I a two coat patch about 10 inches in diameter of clear over the repair area then after I was done with all the repairs, I cleaned up everything and shot three more coats of clear for build and depth. For a total of 6 coats of clear on the entire car. This is about 1.7 gallons of 2055 clear un reduced. About 2.5 gallons of actual clear coat on the car.
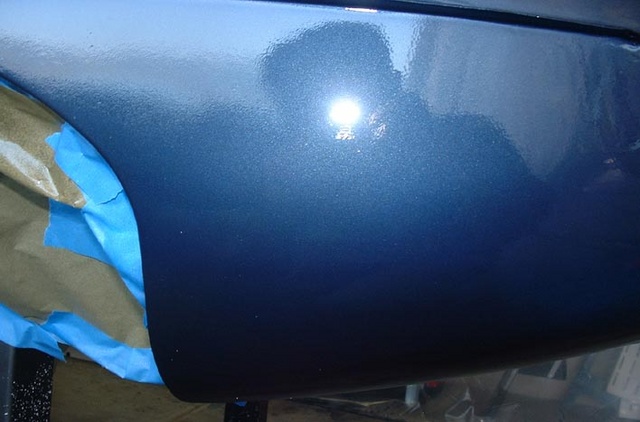
Most paint jobs are only three to four coats of clear, however for a show finish its important to load on more clear. The three extra coats help produce a much deeper shine and the six coats of clear are so thick that you have to work pretty hard to burn through, even with the DA sander and 800 grit. The sanding process I used was 800 grit on the DA and block, 1500 grit on DA and block, 2000 grit foam pad on the DA sander, 2500 grit by hand with a block, 3000 grit on a block, and 4000 grit foam pad on the DA sander, Then buffing. That is allot of sanding but I took it in three foot square sections and got all the micro scratches out before polishing. Before shooting the last three coats of clear I did an abbreviated sanding process, 800 grit on DA and block, 1500 grit on DA and block, 2000 grit foam pad on DA and 4000 grit foam pad on the DA. I found that the more gloss you can get on the clear before buffing the easier it is to spot ripples, scratches and orange peel. I had a bunch of runs in the first three coats of clear and needed to get them all perfectly flat, sanding to 4000 grit gives a pretty nice shine and shows off any missed areas.
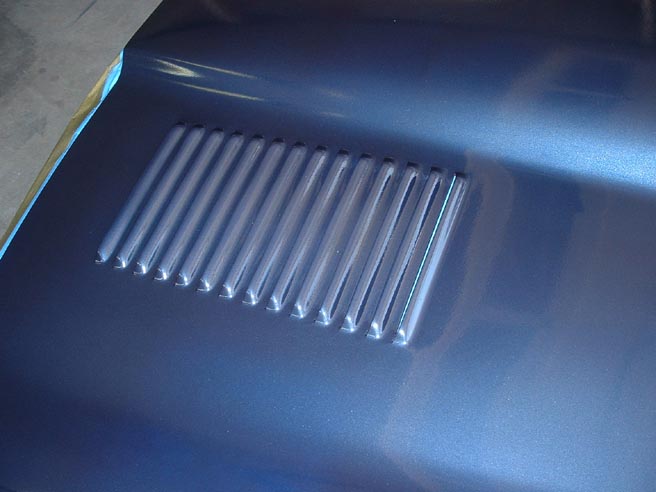
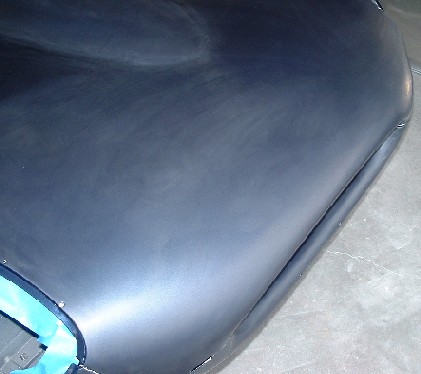
After six coats of clear the bonnet is looking good even before block sanding, Sanding takes time even with the DA but after sanding and buffing it should be like glass!
Here the cowl is pretty much sanded with 800 grit. The 800 grit cuts quickly but leaves large scratches which need to be sanded out with 1500 and 2000 grit. Above 2000 grit the scratches aren't really visible. Sanding with fine grit paper is done more by feel than sight. You can feel when the paper is cutting and assume that when it stops cutting you have gotten the area smooth.

Here is the best tool I've bought in a long time, the Hutchens 3500 Finishing DA sander, behind it you can see a pile of micro fiber towels. These are a must have for finishing work, they are very soft and pick up dust better than any rag I've ever seen. I got a whole pack of 20 from Costco for $9, worth every penny! When they get dirty just throw them in the wash and they clean up good as new!
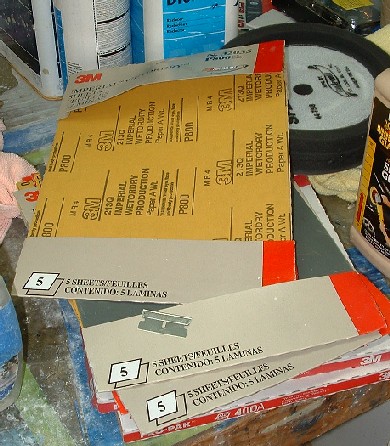
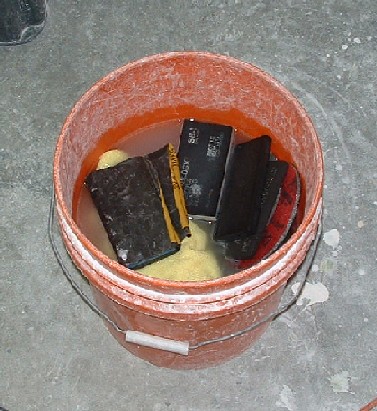
Finishing Sand paper and Razor blades! I went through an unknown quantity of both. Razor blades are a must for cutting down runs and fine finishing work. There are dozens of little fixes you do with razor blades; cutting down dust nibs, cutting down runs, small touch ups with filler or paint, cutting tape and masking paper. I tried several makes and brands of sand paper, including mquires and 3M. I found that the 3M Imperial paper shown above is the best over all. I liked the mquires too, but found the Imperial paper lasted longer.
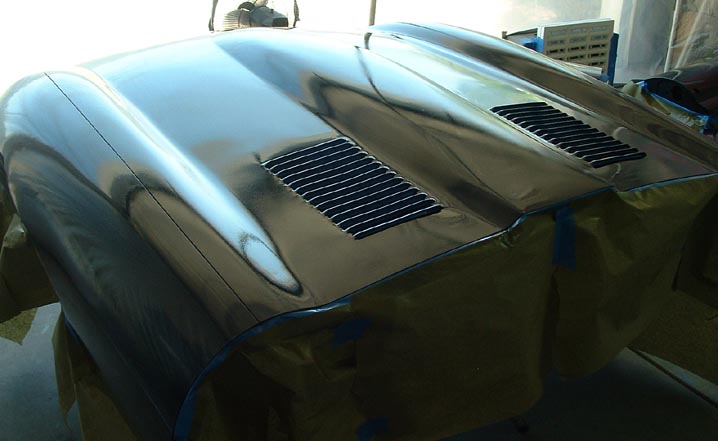
Here is the bonnet sanded out with 4000 grit and ready to be re-coated with clear, I'm just starting to mask up, and doing the finial inspection. Inspection of paint between coats is one of the most important parts of the job. You would be surprised what you will notice if you look closely at paint, but worth finding and fixing before you get further along.