The bonnet
was a real mess on this car, many small dents from earlier body work which were
poorly fixed etc. I metal prepped for at least 50 hours to get the major high
and low spots out before I even started to skim with plastic. There were dozens
of holes drilled which needed to be welded up, and several areas that needed
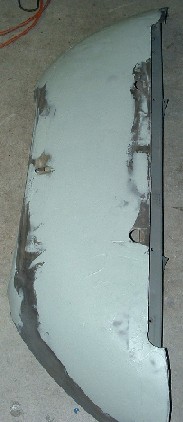
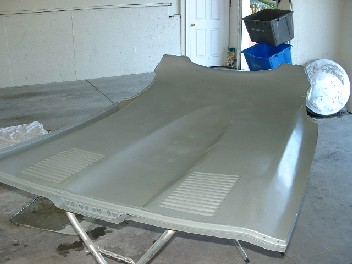
to be cut out and patched. The lower hood section was first to get attention
and after welding and beating out dents it got a skim of plastic seen here.
After a couple
skims of plastic I used a surfacing glaze and then sanded out with 150 grit
paper before shooting DP40
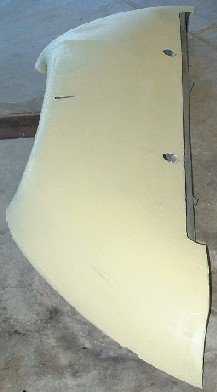
The fender on
the left hand side of the car was pretty badly damaged but wasn't a complete loss.
It took a weekend or two to get the front fenders dressed and ready for primer.
I skimmed about
3 thin coats of plastic on, block sanded down as many high spots as I could find
then put a coat of pin hole filling glaze on. This was sanded this down with 150
grit and before painting. Make sure you use plenty of grease and wax remover to
get all the filler's natural oil out of the pours and to eliminate all dust before
painting.
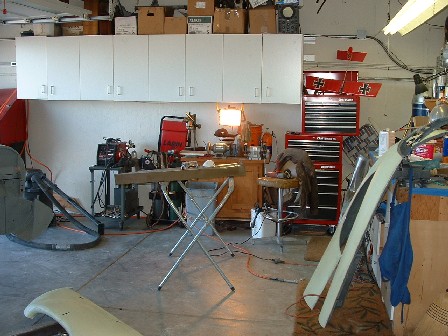
Work in Progress,
this is where it all happens. space is very limited so I have to do allot of
planning to make sure I don't get myself into a corner which is hard to work
out of (so to speak). I'll be glad when the bonnet is back together as it will
create space I can use for other projects.
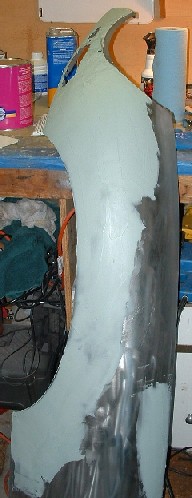
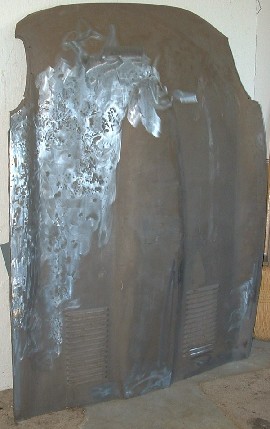
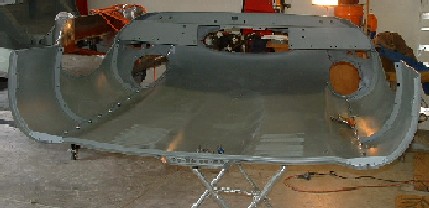
The center
section was a real mess. I really debated replacing it along with one of the
wings and supports, however some research told be that the center section alone
was over a thousand dollars so I thought I'd take a stab at repairing it. Previous
body men had beaten the crap out of the left side. Several patches had to be
cut in, I really would have cut more of this out and replaced it if I'd had
an English wheel. I estimate that about 40 hours of work was required.
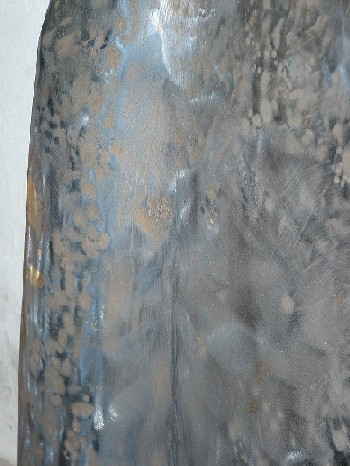
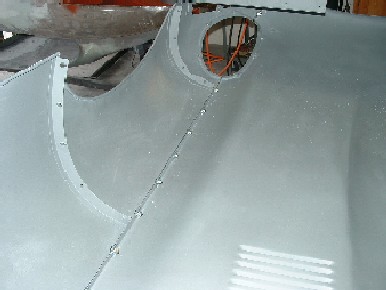
Close up of
the damage really says allot. Fortunately only one side was mangled. I really
improved my hammer and dolly skills by the time I was done. I also used a torch
in many areas to heat planish out really nasty spots. The combination of heat
and hammer and dolly really smoothes and shrinks steel if its done right.
I made a mistake
here. Once I had all the dents leveled as close as I could with the hammer, dolly
and files. I skimmed the inside of the bonnet with plastic filler, This turned
out to be a bad way to go. After I had the inside perfect I started on the outside
and found a number of high spots that needed to be dinged down during block sanding.
When I did this the inside plastic cracked and had to be replaced. So lesson learned
do the outside first and then skim the inside where high and lows are less noticeable
and a skim of plastic is easier to blend in.
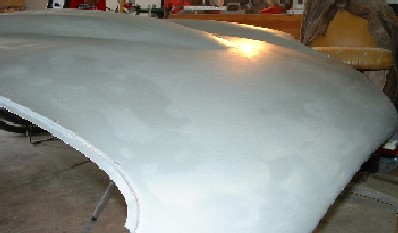
After a coat of
paint its looking allot better. Not perfect, but the high build primer should
take care of any minor problems I missed. I found later that in fact I should
have spent more time working out the highs and lows during this stage, another
lesson learned.
A single
coat of primer doesn't quite cover up the plastic filler under it, however
once the bonnet is back together I'll shoot two or three coats of high build
primer and do another round of block sanding.
The inside of the
center section after I reworked the plastic and paint after cracking it by dinging
out high spots. Everything is ready for re-assembly now.
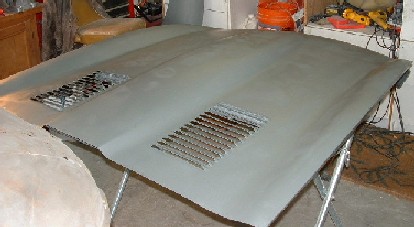
Putting the bonnet
back together was fairly challenging. I started with the wings and lower hood
section. All this went in smoothly. Alignment was hard at times and I'll have
to do a small amount of dressing in the front to get everything perfect.
I didn't take
enough pictures of this part of the rebuild but the short story is that getting
the air ducts installed was the hardest part. They fit tightly into the nose of
the bonnet and have lots of holes which must be aligned in the supports. Next
time I do a bonnet I will start by fitting these before I put the wings or lower
tub in place. In the end I managed to get it all done, but this took about 20
hours of fitting and refitting. Later I found that all of this work was a waste.
I ripped out the ducts several times once I found the bonnet didn't fit correctly
on the car. See later pages.