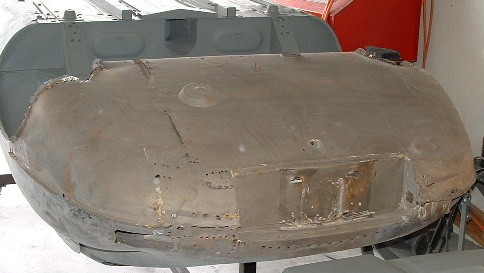
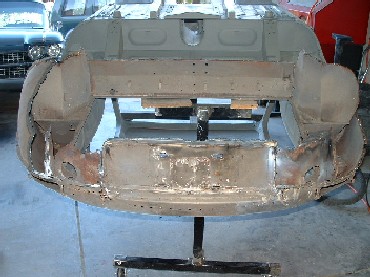
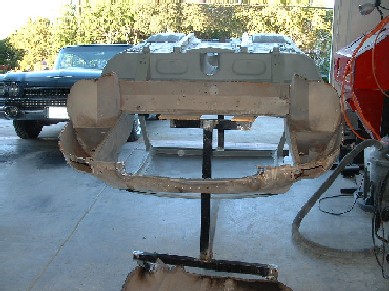
The trunk tub
was shot. I could have spent 50 hours trying to weld up all these holes, pull
out the dents and patch in half of the boot floor. The sheet metal is paper
thin in most of the floor and would never be right. So decided early on that
since Martin Robey makes replacement tubs I'd bite the bullet and replace it
all. I ordered a, new tub, upper deck, tail light filler, license plate frame
etc. All these parts cost about $1500 with freight from England. The shipping
was $440 of the total. Everything got stuck in customs for two weeks, and the
order took about two weeks to fill because MR doesn't keep S1 XKE trunk tubs
in stock. So the net is, for those repeating this process, plan ahead on the
sheet metal order.
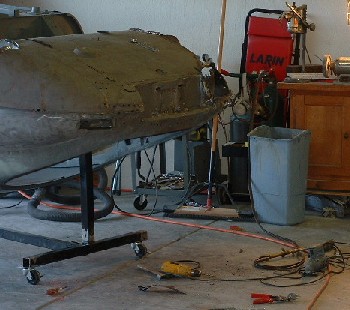
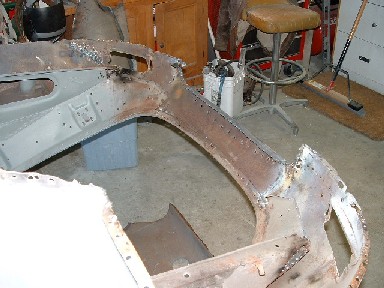
The first
task was to build a stand to support the body while the trunk replacement was
in process. The car needs be movable as well. I used two inch square pipe, cut
it with a skill saw with a metal blade and welded it together to create this
master piece in about an hour. It isn't adjustable but does move the shell safely
around the garage for easy access.
The shell just
sits on on the stand with a couple of plywood shims to keep the body level and
prevent marring of the primer. These also shims also distribute the weight so
that there won't be any dents in the deck.
The next step
was much spot weld drilling. Plan on going through about 5 cobalt drill bits
to get all the welds out. I did a good bit of this before building the stand
in the previous pictures, because its much easier to drill out the welds when
the car is up on its side. After the tub comes off I'll fill the holes in the
shell with the mig welder and then tap new holes into the new tub after its
perfectly aligned and locked into place. When starting this project I had intended
to buy a spot welder, but after experimenting with drilling and simulating spot
welds with the mig I found that it can be made to look close enough to OEM for
my eye. Certainly not perfect, but after the car is prepped and painted it will
be pretty hard to tell that these weren't original.
No turning back
from here. I started off trying to cut only the welds and pull the tub off, but
figured out pretty quickly that it was allot easier to just torch out the tub.
It is hard to get some of the spot welds out with the tub on the car and since
the metal is all going to the trash anyway, I just fired up the torch and cut
out the rear end out in less than an hour.
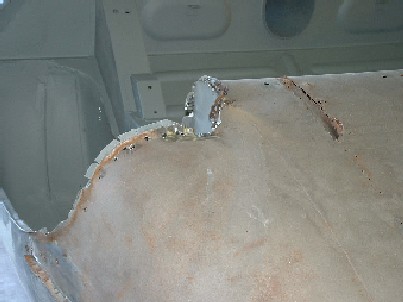
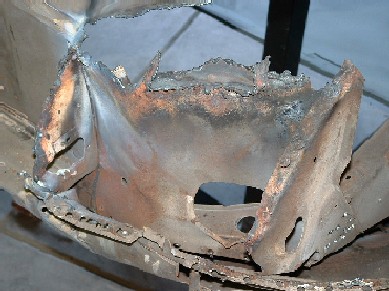
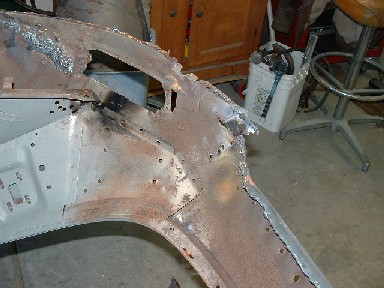
It ain 't pretty,
you can see some of the rust just about to eat through this panel. Glad I didn't
patch this up. Wonder how much more rust deep in the inner body panels I'm missing.
This part of the tub traps dirt and dust, the corner was full of crud which
had absorbed water and was slowly rotting away the inner supports. I had a small
fire inside the panel while torching out these corners. Forty years of leaves
and sticks and old bondo mixed with dirt burns really well.
Getting the tub
off was quick work, the license plate frame went a bit slower but since everything
is being replaced including the deck up to the hatch, there was no reason to waste
allot of time trying to be graceful.
All out. This
is just the beginning I'll spend several afternoons prepping the drill holes and
cleaning up the area before I am ready to start fitting the new tub.
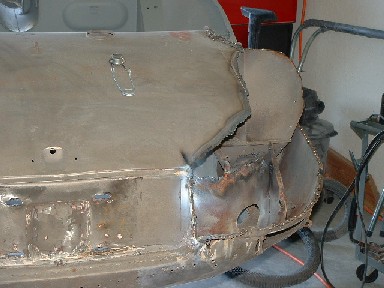
Here is an example
of how poorly these cars were prepped for rust. They didn't even paint the inside
of these panels. No wonder every restoration of an XKE I've seen is a lesson in
rust repair. The accident damage and shotty repair work added to the problems.
And still this car is better than average since it was a FHC and a California
car.
A close up of
the rear end disaster, you can see one of my repairs on the top left corner. This
wasn't my best work and will get cleaned up now that the trunk is out. This is
a great area for copper backing plates for welding up holes in sheet metal. Thick
copper plates are used to stop weld material from bubbling out the back of a hole
when you welding, Copper welding plates are for sale at better welding shops and
Eastwood. I have used mine hundreds of times so far.
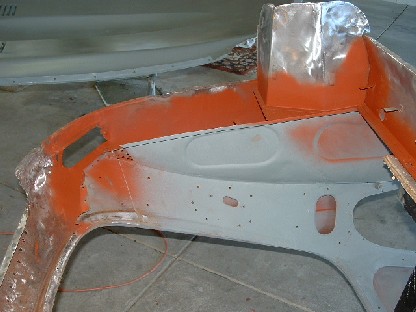
Cleaned up all
the holes, sanded out the rust and shot thinned POR 15. Need to put another coat
on before the tub goes on. Still need to cut out the tail light lips, and mounting
brackets, all will be replaced.
Oops didn't think
about masking until it was too late. Fortunately a little thinner will take off
POR 15 and the DP40 under it for that matter. This area will be coated by several
more coats of high build primer and will get light sanding before the color coat,
but that's many moons away.
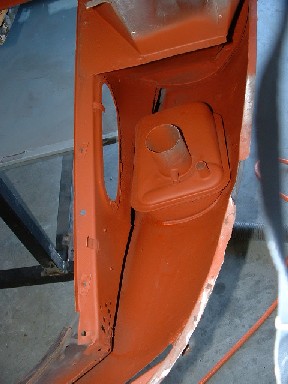
The gas tank filler
wasn't rusty, but everything gets paint. I will wax inside of the fender wells
after one more coat of POR 15.
The spot weld
holes are all cleaned up now and things are getting closer to fitting the new
tub. I typically use a 4 inch angle grinder with a 36 grit flap disk to knock
down the bulk of the welds and then smooth them out with a 90 degree air driven
die grinder and a sanding disk. makes quick clean work of weld finishing without
thinning out the surface to much.